

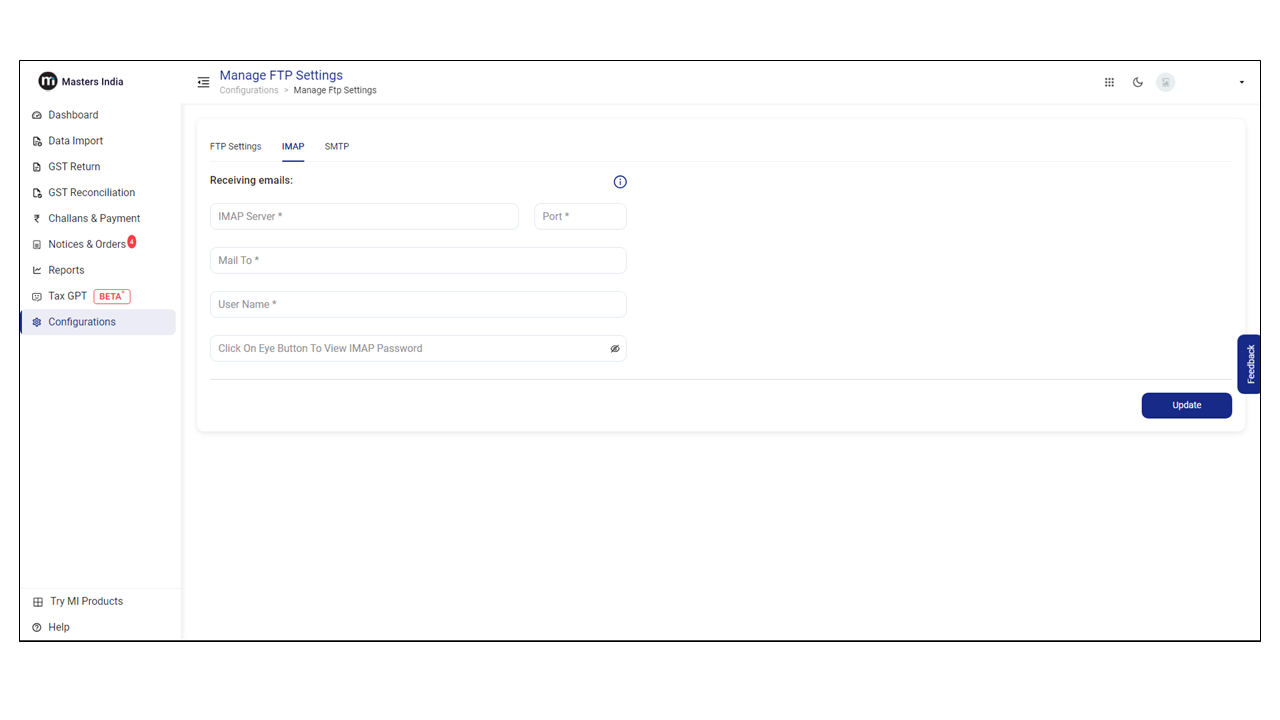
| Email Provider | IMAP Server | Port | Mail to | Username |
|---|---|---|---|---|
| Microsoft 365 | http://outlook.office365.com/ | 993 | Email ID | Email ID |
| Outlook | http://imap-mail.outlook.com/ | 993 | Email ID | Email ID |
| Hotmail | http://outlook.office365.com/ | 993 | Email ID | Email ID |
| Live.com | http://outlook.office365.com/ | 993 | Email ID | Email ID |
| Gmail | http://imap.gmail.com/ | 990 | Email ID | Email ID |
| Zoho | http://imap.zoho.in/ | 993 | Email ID | Email ID |
| GoDaddy | http://imap.secureserver.net/ | 993 | Email ID | Email ID |
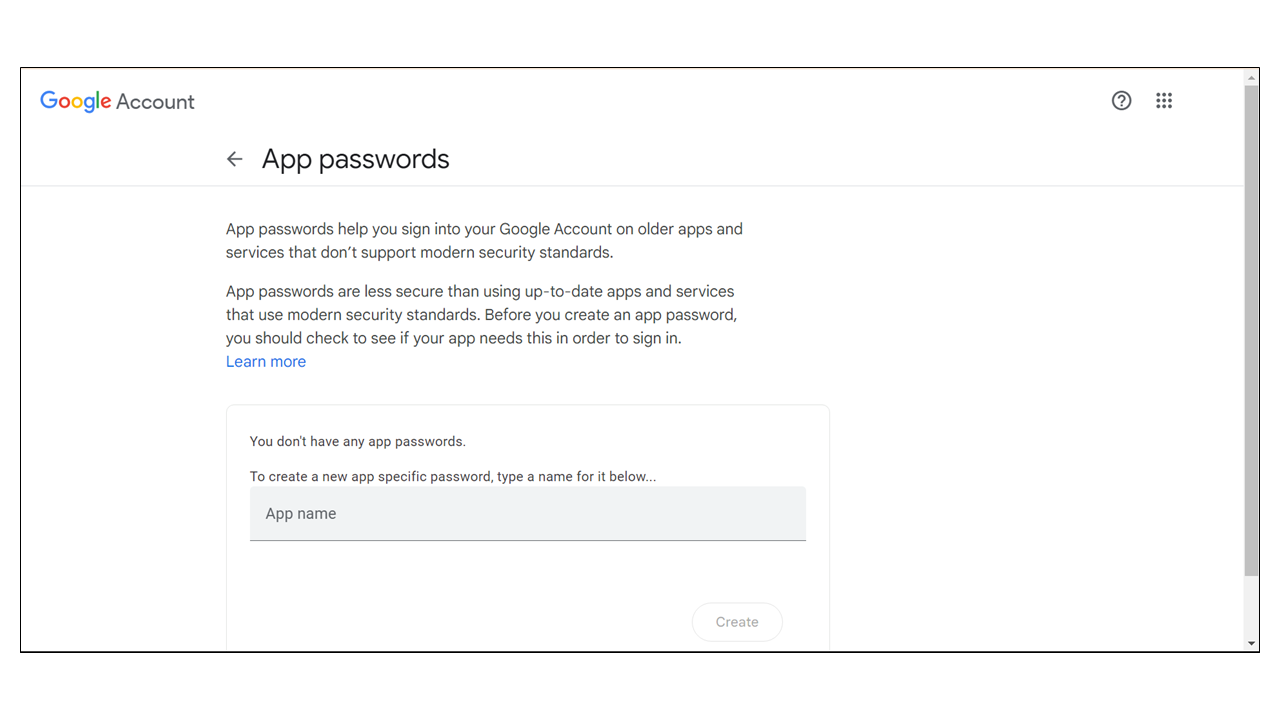
This is an example image one of the email provider Gmail by Google.
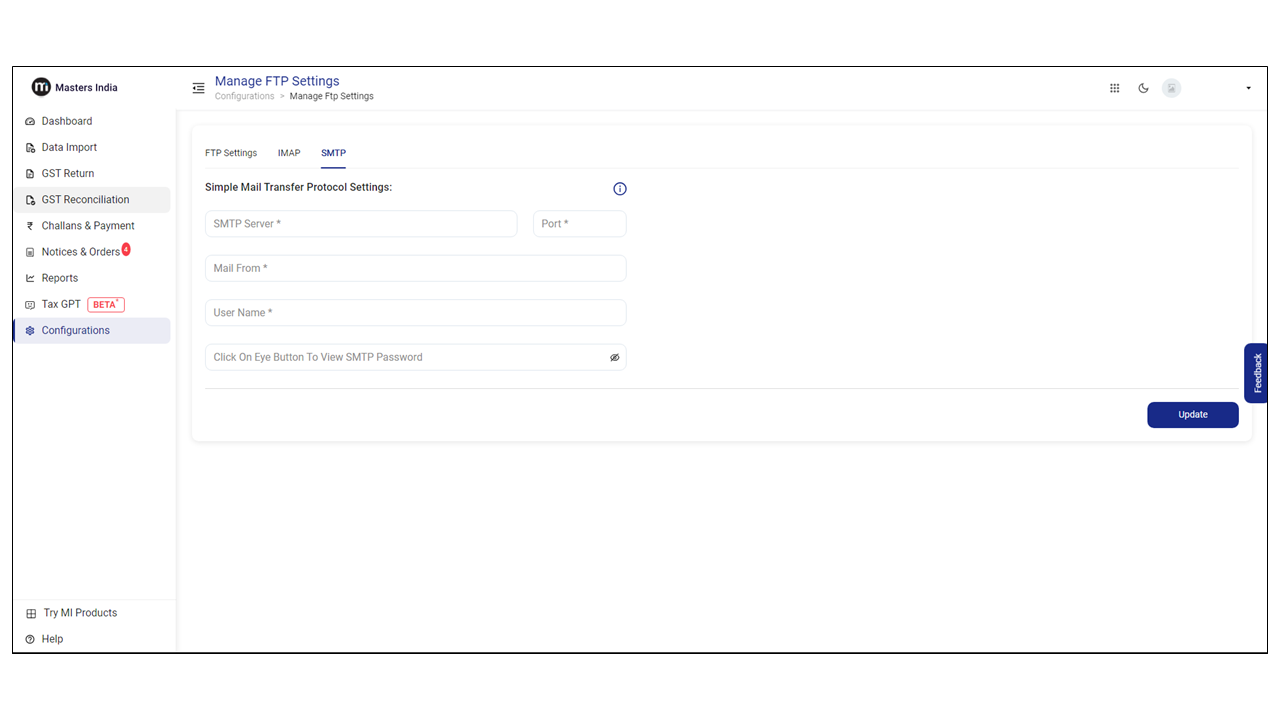
| Email Provider | SMTP Server | Port | Mail to | Password |
|---|---|---|---|---|
| Microsoft 365 | http://smtp.office365.com/ | 587 | Email id | Email id |
| Outlook | http://smtp-mail.outlook.com/ | 587 | Email id | Email id |
| Hotmail | http://smtp.office365.com/ | 587 | Email id | Email id |
| Live.com | http://smtp.office365.com/ | 587 | Email id | Email id |
| Gmail | http://smtp.gmail.com/ | 587 | Email id | Email id |
| Zoho | http://smtp.zoho.in/ | 465 | Email id | Email id |
| GoDaddy | http://smtpout.secureserver.net/ | 465 | Email id | Email id |